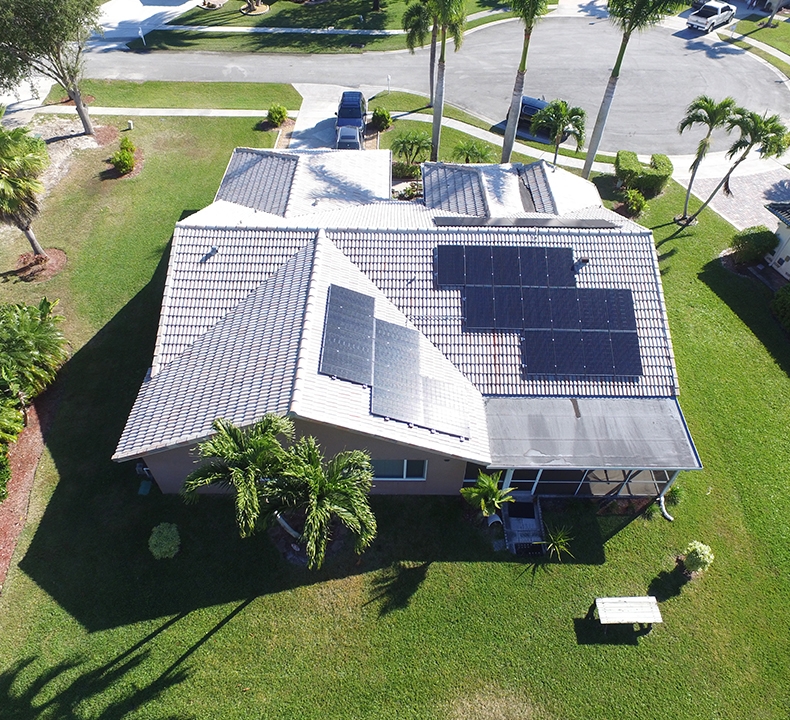
Solar Stack’s Solar Panel Mount Installation Process
We here at Solar Stack are dedicated to assisting clients in ensuring they’re provided with the solar energy they need to power their homes. And all without having to void their roof warranty with traditional methods of solar panel installation. With our solar panel roof mount installation process, you’ll be able to have solar panels fitted onto your roof without any invasive procedures penetrating the structure of it. To learn how we carry out this installation process, continue reading below.
Our Solar Panel Mount Installation Process
Our solar panel mount installation process, although multi-faceted, is generally a 3-step process:
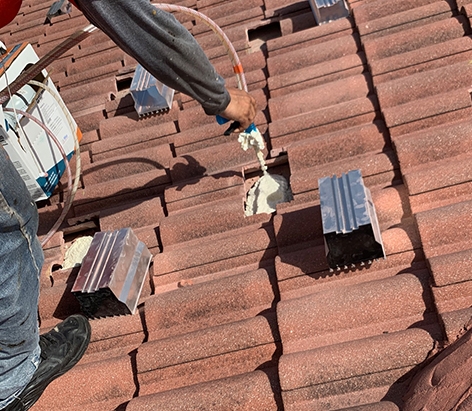
Step 1: Applying Adhesive
We completely understand how frustrating it can be for your roof warranty to be voided because nails were hammered into your roof for your new solar panels. Which is why we here at Solar Stack have come up with the solution of implementing mounts that are installed with adhesives.
Adhesives are applied onto your roof’s underlayment in areas where the mounts will be placed. As we dispense the adhesive onto your roof, we make sure to leave room for expansion of the adhesive.
Our polyurethane foam adhesives will expand roughly up to 3 times its original sprayed size, ensuring that it will fill the space underneath your mount so that it can grip accordingly to your roof.
Step 2: Set & Position Your New Solar Mounts
Your new solar panel mounts will be carefully installed while the freshly applied adhesive is curing in accordance with the adhesive manufactuer’s recommendations. Once the adhesive is sprayed, it will begin expanding, making it ready for solar panel mount installation.
Polyurethane adhesive must be protected from UV exposure. When it’s installed we’ll provide it protection by coating it with an exterior grade acrylic paint/coating or cover it with another method.
Step 3: Install Modules & Clamps
The final part of the installation process is to lay down your solar panels onto your new solar panel mounts. Depending on what’s most optimal, your panels will be installed either in portrait or landscape orientation. And along with taking measurements, we’ll check that the modules are straight – not just from where we’re sitting on the roof, but from down on the ground, too. Once we’re able to tell that they’re straight, we’ll connect your modules with each other according to the provided engineering plans in regards to the proper stringing.
Once fitted properly, we apply our module clamps onto the frame of your new solar panel mounts. Typically, we rely on two different types of clamps to get the job done. They are end-clamps and mid-clamps.
Our end clamps are applied at the end of a row of modules while the mid-clamps are fitted between two panels to ensure they’re spaced evenly.
Contact Solar Stack For Their Solar Panel Mount Installation Services
We will happily provide you with our solar panel mount installation services when you choose to purchase our pedestals. With your newly acquired solar panel mounts, you’ll be able to enjoy the luxury of saving money on energy costs without damaging your roof. When you choose us, we feel more than confident that you’ll benefit from our services as you’re added to our growing list of satisfied customers. For any inquiries, you may call us at 877-SLR-Stack or visit our contact page.